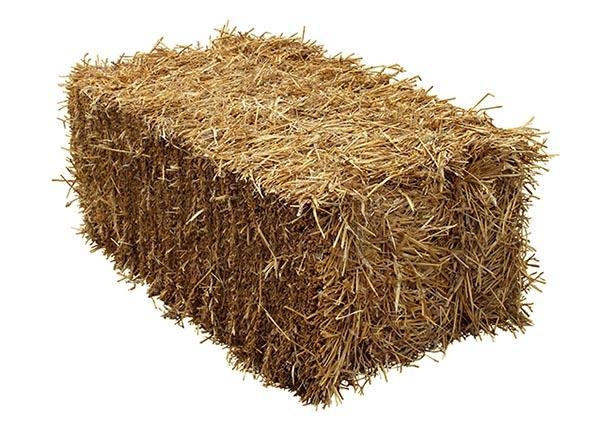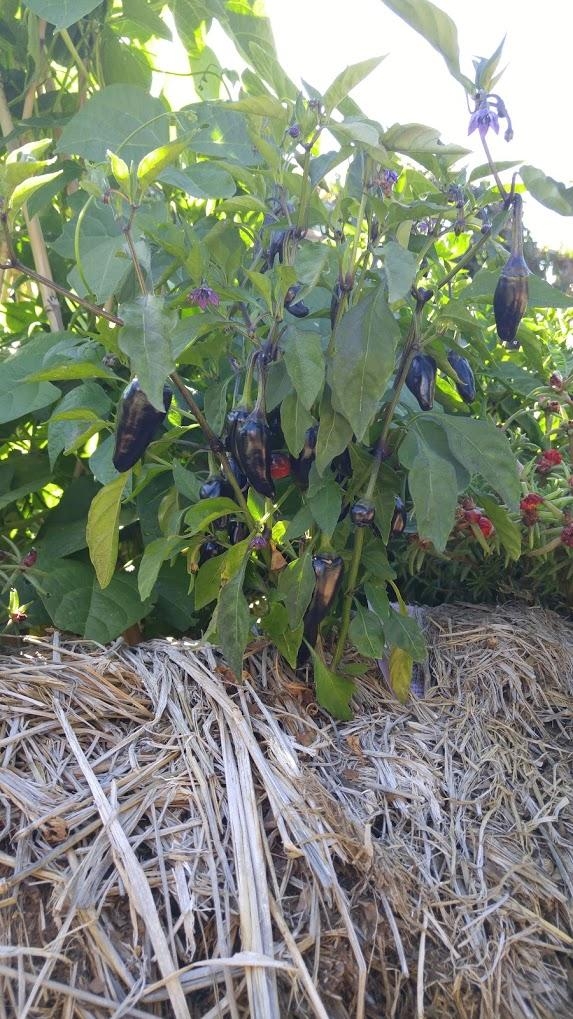
Straw bale gardening is a container gardening technique that allows productive herb, flower and vegetable gardens even for people with the worst soil conditions. It involves conditioning straw bales, the kind used for large animal bedding you get at the feed store, to make them soft and semi decomposed for direct planting.
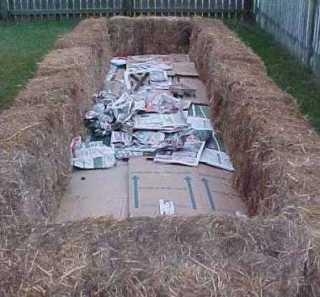
Benefits – As mentioned, straw bale gardens are for people with very poor soil and over time, the bale itself can improve the soil beneath it. It's a good method for people with limited mobility or difficulty bending over and it's much less labor intensive than turning soil. As with all container gardening, it's good for renters or people with limited yard space. Harvesting is easy—harvest potatoes by knocking over the bale at the end of the season. There's virtually no weeding required with straw bale gardening and straw bales are inexpensive, about $7-12 each. You can build a raised bed with 4 bales, fill the center with planting mix and plant in the soil as well as the straw.
How To

When you go shopping make sure you get a STRAW bale and not a HAY bale. Straw is a stalk, usually a waste product of a grain crop, that's used as bedding for barnyard animals. I prefer rice straw if I can get it but other straw works just as well. Hay—typically alfalfa or a grass—is used as animal feed and may contain seeds.
Choose a clear sunny spot and cover the soil with cardboard, weed cloth or wood chips to suppress weeds around the bale. Position the bale narrow side up so the strings hold the bale together over time. Check both narrow sides—one side the straw will be folded over, one side will be cut. Place with the cut side up to draw moisture better. Sometimes the most challenging part can be getting straw bales home from the feed store; you may need to enlist the aid of a friend with a truck or large trunk space to get them home and arranged where you want them. Some feed stores deliver. A hand truck is very helpful for moving the ~75 lb. bales around the yard.
Day 1-14 - Condition the bale
Day 1-3 You need the bale to begin to decompose before planting which will begin as soon as water hits it. Water the bale thoroughly for 3 days (or wait for rain to do that for you).
Day 4-10 For the next 6 days continue watering daily and add some liquid or soluble nitrogen fertilizer to aid decomposition. I sprinkle blood meal on top, fish emulsion or chicken manure tea. There's no prescribed amount of fertilizer to add but for reference, I use about 1 cup of blood meal per bale on day 4 and another ½ cup on day 7.
Day 10- 14 Continue watering the bale daily. The process of decomposition produces heat, like hot compost, so wait until the internal temperature of the bale is ambient temperature. You can use a compost thermometer for this or just dig in with your hand.
The speed of this conditioning stage will take longer if you are relying on rainfall to do all the watering, especially in California. The process takes 10-14 days if water is supplied consistently, otherwise, you'll be looking for the straw to darken in color and be yielding and easy to dig into from the top with a trowel. You may see mushrooms sprout from the bale; this is a normal part of decomposition. You can remove the mushrooms or leave them be.
Planting

How to plant in straw
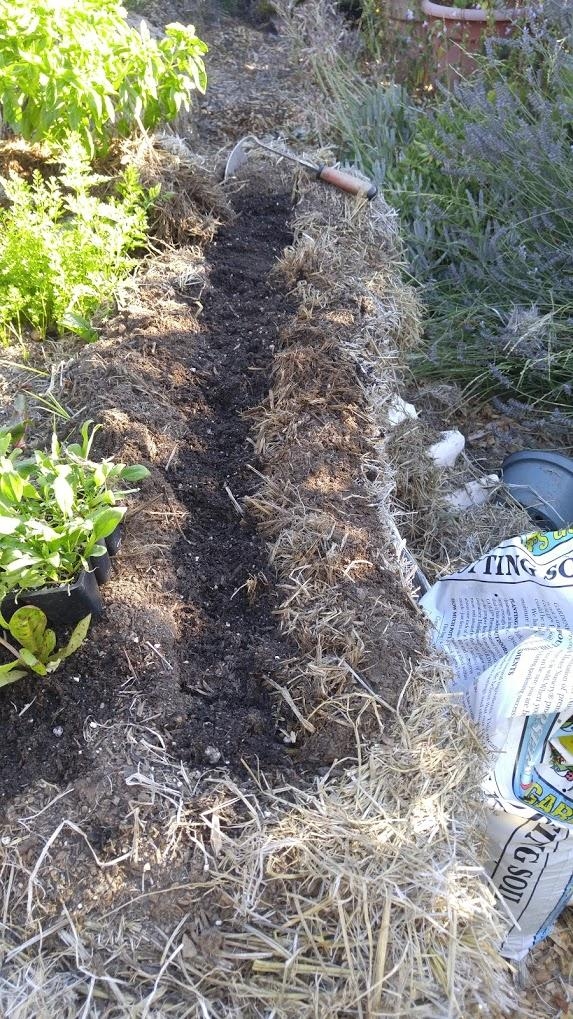
Use a trowel to remove straw to form a hole that is as deep as the root ball of your plant. Place the plant in the hole and add some quality potting soil around it for stability. Mulch the top with some of the straw you removed and water well. You can do successive plantings and as time passes, you'll find the straw becomes easier and softer to dig into as the bale decomposes.

It's essential to fertilize regularly since straw doesn't contain all the nutrients good soil does. I usually mix an organic all-purpose fertilizer powder with the potting soil when I plant. I supplement with liquid fertilizer over the growing season. Once the bales are fully saturated through conditioning you will be amazed at how well they retain water. Keep them watered either by overhead hand watering or drip line. I hand water and even in the peak of summer heat I only watered 2-3 times a week. Never let the bales fully dry out or all is lost.
Lifespan of a hay bale garden
Over time your hay bale will get shorter and shorter as it decomposes. You can do successive plantings 3-4 seasons in a row until your bale is little more than a mound. At that point you may dig the spent straw into the moist, softened soil below to begin an in-ground garden bed or use the straw as mulch in other parts of the garden and start a new bale. Straw bale gardening is a great way to replace a lawn with a veggie garden!
To learn more about straw bale gardening and hugelkulture, sign up for our FREE workshop on July 22nd here!
Don't forget to subscribe to our blog so that you receive an email notification when a new post goes up. If you have questions, contact us online, by phone or in person to get answers to your gardening quandaries!